


You are ready to invest. You have chosen your mutual funds. You transfer the money. And then you get the email. Your application is rejected. Your KYC is not approved.
Your heart sinks. The process feels confusing from overseas. What went wrong? Was it your address proof? Your PAN? A missing form?
I have been there. I once helped a friend in Singapore untangle his "KYC On-Hold" status. It took us a week of back-and-forth emails to discover the issue was a blurry scan of his passport's last page. A simple, frustrating fix.
This guide is the one I wish we had. It will show you exactly how to check your NRI mutual fund KYC status, understand what the results mean, and fix any problem quickly. No jargon, no run-around. Just clear, actionable steps.
Let us get your investment journey back on track.
Why Checking Your KYC is Your First Step to Investing
Think of KYC as your passport for the Indian financial world. It is a mandatory process that verifies who you are and where you live.
For you as an NRI, this is more than just a formality. It is about compliance. The KYC process confirms that your investments follow Indian regulations set by SEBI and FEMA. It also checks your tax residency for international agreements like FATCA and CRS. This helps prevent fraud and money laundering, making the entire system safer for everyone.
You cannot buy a single mutual fund unit without a validated KYC. Checking your status first saves you from the disappointment of a failed transaction later. It is the most important first step you can take.
The 4 Simple Steps to Check Your NRI KYC Status
This process is straightforward. You just need one key. Your Permanent Account Number or PAN.
Step 1: Use Your PAN to Unlock Your Status
Your PAN is your universal ID for all mutual fund investments in India. It links all your KYC records together, no matter which fund house you use.
You will use it on one of the official websites that host the KYC database. You do not need to remember where you registered. You can check on any of these sites.
- CAMS KYC Status Page: A very common and reliable portal.
- KFintech Investor Services: Another major player used by many fund houses.
- Karvy KRA: A key KYC Registration Agency (KRA).
- CVL KRA: Another KRA you can use for a status check.
My advice? Start with CAMS or KFintech. They cover a vast majority of mutual funds in India.
When you enter your PAN, type it in uppercase letters with no spaces. Keep your registered mobile phone and email handy. You might need a One-Time Password for verification.
Step 2: Understand What Your KYC Status Really Means
You hit enter. The page loads. Now, what does it all mean? The status message is the most important piece of information. Let me break down the common ones you will see.
The Green Light: "KYC Validated" or "KYC Registered"
This is what you want to see. It means you are fully verified and your KYC is complete. You are now clear to invest in any mutual fund in India.
Take a quick note of the "Validated Date" on the screen. This tells you when your KYC was approved. It is good information to have for your records.
The Yellow Warning: "KYC On-Hold" or "KYC Incomplete"
This is the most common hurdle for NRIs. It does not mean you are rejected. It means the registration agency has found an issue that needs your attention.
Usually, it is one of these things:
- A missing or incorrectly filled FATCA/CRS declaration form.
- A scanned copy of a document that is unclear or missing a page.
- A mismatch between your name on your PAN and your passport.
- Your In-Person Verification (IPV) is still pending.
The system has put your application on pause until you provide the correct information.
The Red Stop: "KYC Not Found"
This status means there is no KYC record linked to your PAN in the mutual fund system. There are two reasons for this.
Either you have never completed a mutual fund KYC before. Or you have only done a KYC for a bank, which is a separate system. You will need to complete a full KYC process before you can start investing.
Step 3: How to Fix a KYC That is On-Hold
Do not panic if you see that yellow warning. It is almost always fixable. I have walked multiple people through this.
First, Check Your Email
The KRA will almost always send an email to your registered address explaining exactly why your KYC was put on hold. Search your inbox for emails from "CAMS," "KFintech," or "Karvy." The reason is usually stated clearly in the email.
The In-Person Verification (IPV) Solution for NRIs
This trips up many NRIs. How do you do an "in-person" verification when you are not in India? It is simpler than it sounds.
You have several options:
- Indian Embassy or Consulate: You can visit the nearest Indian mission and have an official there verify your original documents and their copies. This is the most widely accepted method.
- Notary Public: A local notary public in your country of residence can attest your documents. Ensure they stamp and sign each page.
- Overseas Branch of an Indian Bank: If you have an account with a bank like SBI, ICICI, or Bank of Baroda that has a branch in your city, they can often complete the IPV for you.
When you go, carry the original documents and their self-attested copies. You will need your passport, overseas address proof, and PAN card.
Tackling Specific Document Issues
- PAN Mismatch: If your name or details do not match perfectly across your PAN and passport, you must correct it at the source. Update your details on the Income Tax e-filing portal. Once done, your KYC should automatically update within a few days.
- FATCA/CRS Pending: This is a very common issue. Many AMCs now allow you to submit this form digitally. Log in to the KFintech FATCA portal or your specific AMC's website to find the declaration form. Filling this out online often resolves the hold immediately.
- Address Proof Rejection: Make sure your overseas bank statement or utility bill is recent, usually not older than two months. The name and address on it must match your KYC application exactly.
Step 4: Confirm Your Status and Start Investing
Once you have fixed the issue, wait a few days and check your status again using your PAN. When you finally see that beautiful KYC Validated status, take a screenshot or save the page as a PDF for your records.
Your path is now clear. You can:
- Start a Systematic Investment Plan (SIP) in any fund you choose.
- Make a lump-sum investment.
- Use any online investment platform like Groww or Zerodha, or invest directly through an AMC like HDFC Mutual Fund.
The best part? You only need to do this once. Your KYC is centralized. You will not have to repeat this process for every new fund you buy.
The Complete NRI KYC Documents Checklist for 2026
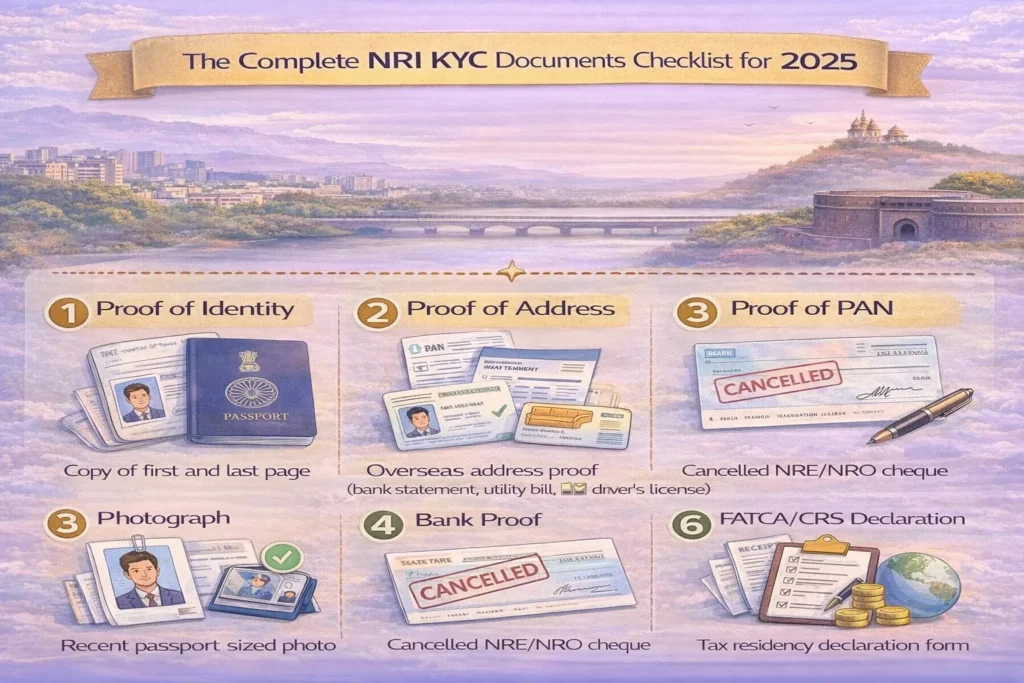
Gathering the right documents is half the battle. Here is a clear list of what you will need. Every document must be self-attested, meaning you sign each copy and write "Self-Attested" on it.
- Proof of Identity: Your passport is the best and most widely accepted document. You will need to copy the first and last page.
- Proof of Address: This must be your overseas address. A recent bank statement from your NRE or NRO account, a utility bill, or a local driver's licence works well.
- Proof of PAN: A clear copy of your PAN card.
- Photograph: A recent passport-sized photograph.
- Bank Proof: A cancelled cheque from your NRE or NRO account. This links your bank details for transactions.
- FATCA/CRS Declaration: This is not a document you bring, but a form you fill out. It declares your tax residency status.
Having these documents ready and correctly scanned will make your KYC process, whether new or a re-submission, incredibly smooth.
Where an NRI Can Complete or Update KYC
You have options depending on whether you are in India or abroad.
Online You can initiate the process through the websites of CAMS, KFintech, or other KRAs. You can upload your documents and complete the video-based In-Person Verification in some cases. This is the fastest method.
Offline from Overseas As mentioned, you can get your documents attested at an Indian Embassy, Consulate, or by a local Notary Public. You then courier the attested documents to the KRA's office in India.
In Person in India If you are visiting India, you can walk into the office of any major AMC like HDFC or ICICI, or a KRA office like CAMS, to complete your KYC.
A New Convenient Option A recent and very helpful development is that you can now complete your mutual fund KYC at many post offices across India. This is a great, accessible option if you are back in your hometown for a visit.
Common NRI KYC Problems and How to Solve Them
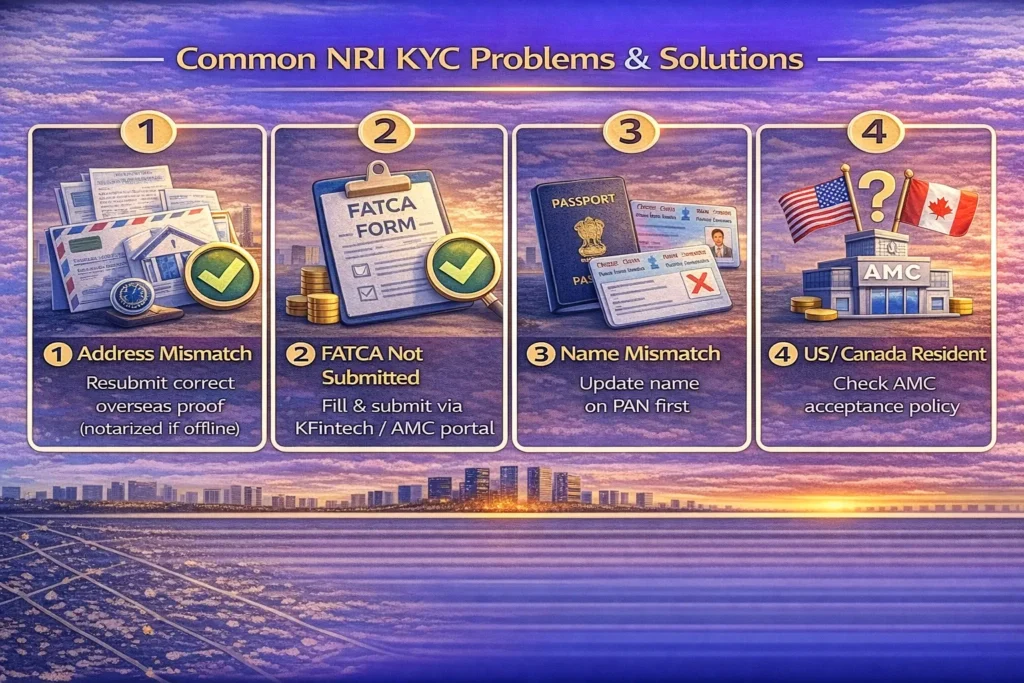
Let us look at some specific scenarios and how to get past them.
Your overseas address does not match your proof. This is a detail-oriented fix. Resubmit a clear copy of your overseas address proof. If you are doing it offline, ensure it is properly notarized. Double-check that every detail, down to the apartment number, matches what you filled in the form.
You forgot to submit the FATCA form. This is an easy win. Log in to the KFintech FATCA portal or your AMC's website. Find the form, fill in your details regarding your tax residency, and submit it. This single action resolves a huge number of "On-Hold" cases.
Your name is different on your PAN and passport. Maybe you have a middle name on one but not the the other. The names must match. You need to legally update your name on your PAN card through the Income Tax website first. Once that is updated, your KYC will follow.
You are a resident of the US or Canada. This is a special case. Due to the complex tax reporting requirements under FATCA, some Indian mutual fund houses do not accept investments from NRIs based in the US and Canada. However, many large AMCs like SBI Mutual Fund, ICICI Prudential, and Kotak Mutual Fund still do. Your first step should be to check with the specific AMC you want to invest with to confirm their policy.
Your KYC Questions, Answered
Can I use my Aadhaar card to check my NRI mutual fund KYC?
No. For NRI mutual fund investments, your PAN is the primary and mandatory identifier. Aadhaar is not designed to verify your overseas address and cannot be used as a substitute for the KYC process.
How long does it take for KYC to get approved?
If you complete the process online with all correct documents, it typically takes 3 to 10 business days. If you are sending physical documents attested by an embassy, you should factor in courier time and processing, which can take up to 15 days.
What exactly is a KRA?
A KYC Registration Agency (KRA) is a SEBI-registered entity, like CAMS or Karvy. Their job is to store and maintain your KYC data in a central database. Once any one KRA validates your KYC, all mutual fund companies can access that record. This is why you only need to do your KYC once.
Conclusion
Checking your KYC status is a simple, five-minute task that can save you weeks of frustration. It is the key that unlocks your ability to grow your wealth in India.
You have the steps. You have the fixes. You know where to look.
So go ahead. Open a new tab, pull out your PAN, and check your status right now. Whether it is validated, on-hold, or not found, you now have the knowledge and the plan to move forward with confidence.

0 Comments